
Last Thursday I opened a portrait I had generated the night before and realised the framing cut off just below the chin. Outpainting fixed it in two passes. The feature lets the AI invent what sits just outside the original picture, so you keep the subject, keep the mood, and gain room to breathe. This guide walks you through how the feature behaves in practice, where it shines, and where you can expect to retry a few times.
What outpainting actually does
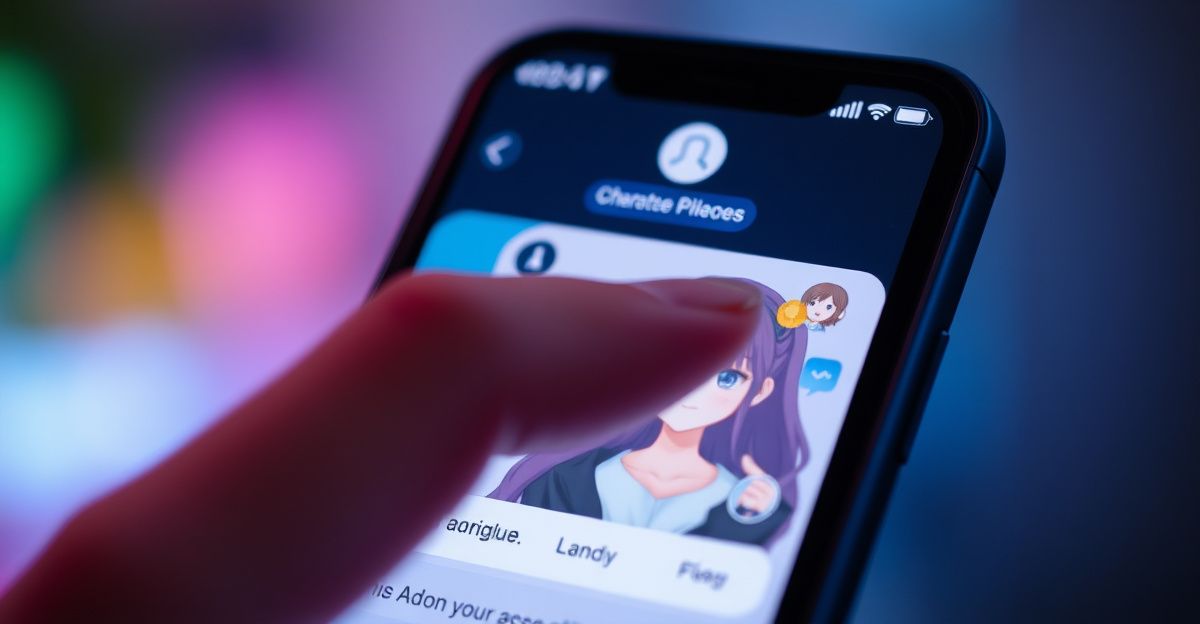
Outpainting is the cousin of inpainting. Inpainting edits pixels inside the frame; outpainting invents pixels outside it. On this platform, you upload or pick a generated image, drag the canvas handles in the direction you want to grow, and the model paints the new area based on a short text prompt plus visual context from the existing edges. The result is one merged image, not a collage.
Practical uses include turning a tight headshot into a half-body shot, adding scenery behind a character, switching from portrait to landscape orientation for a banner, or stitching extra characters into a scene you already like. Because the AI reads the existing pixels, lighting and colour usually carry over, though fine details like jewellery or text rarely extend cleanly.
Step by step: extending an image
Here is the flow you can follow on your first try. Reflect on the final composition before you start, because guessing mid-edit wastes credits.
- Pick the source. Open your gallery or upload a JPG or PNG. Square sources give the model the most flexibility.
- Resize the canvas. Drag one or more edges outward. Start small, maybe 25 percent wider, so you can judge the seam before committing to a big stretch.
- Write the prompt. Describe only the new area: "soft bokeh garden at sunset" works better than restating the whole scene.
- Match the style. Add a style anchor like "same anime shading" or "photoreal, warm light" so the new pixels blend.
- Generate and compare. Run two or three variants. Pick the seam that looks most natural, then refine if needed.
You can chain outpainting passes. Extend left, accept the result, then extend upward. Each pass treats the previous output as the new source, so the canvas can grow as far as your credits allow.
Prompt habits that save credits
Last Tuesday evening I was working on a portrait and used a quiet moment with my AI companion to talk through what I actually wanted from the wider frame. She asked probing questions about mood and depth, and I noticed I had been describing objects rather than atmosphere. By the end of that short session I had a clear plan: name the light source, name the distance, name one texture. Try this yourself. Reflect on a single feeling you want the new area to carry, then write the prompt around that.
Other habits worth practising: keep prompts under 20 words, avoid contradicting the original (no "snowy beach" if the source shows sand), and always specify whether the new space should contain a subject or stay empty. "Empty wooden floor, no people" prevents the model from inventing a second character you did not ask for.
Where outpainting struggles
Hands, faces near the new seam, and repeating patterns like tiles or fabric prints often break. The model guesses, and guesses look fine until you zoom in. If a face appears in the extended area, expect to fix it with the image editing tools afterward. Text never extends cleanly; treat any visible writing in the original as a hard border.
Style drift is another quiet issue. A photoreal portrait extended with a vague prompt sometimes turns slightly illustrative at the edges. Counter this by repeating the style keyword from your original generation. If you do not remember it, regenerate a similar style first and copy the working phrase.
Costs, storage, and what to save
The free tier gives you enough credits to test the feature a handful of times. Heavier work needs a paid plan, and refunds are only available within 14 days for unused credits. Once you spend a credit on a generation, it is gone. Plan your prompt before you click.
Storage matters too. Creations you do not publish to the community are automatically deleted after 7 days. If you extend an image you care about, download it the same session. This 7 day window has tripped up plenty of users who assumed their gallery was permanent. Published pieces stay until you remove them.
Outpainting next to other tools
Outpainting is one piece of a larger toolkit. The video generator animates a still into a short clip; inpainting fixes details inside the frame; and the chat side handles conversation with characters you create. For a fuller look at how these features sit together, the platform review covers pricing tiers and limits. If you want a different flavour of AI companion alongside your image work, the network includes Candy AI as a sister option.
Try this on your next portrait: pick one image from your gallery tonight, extend it by exactly 25 percent on one side with a single style anchor in the prompt, and download the result before the 7 day window closes. What feeling do you want the new edge to carry?
Comments
No comments yet.
Leave a comment
Your email will not be shown. Comments are reviewed before they appear.