Getting your account ready before you build
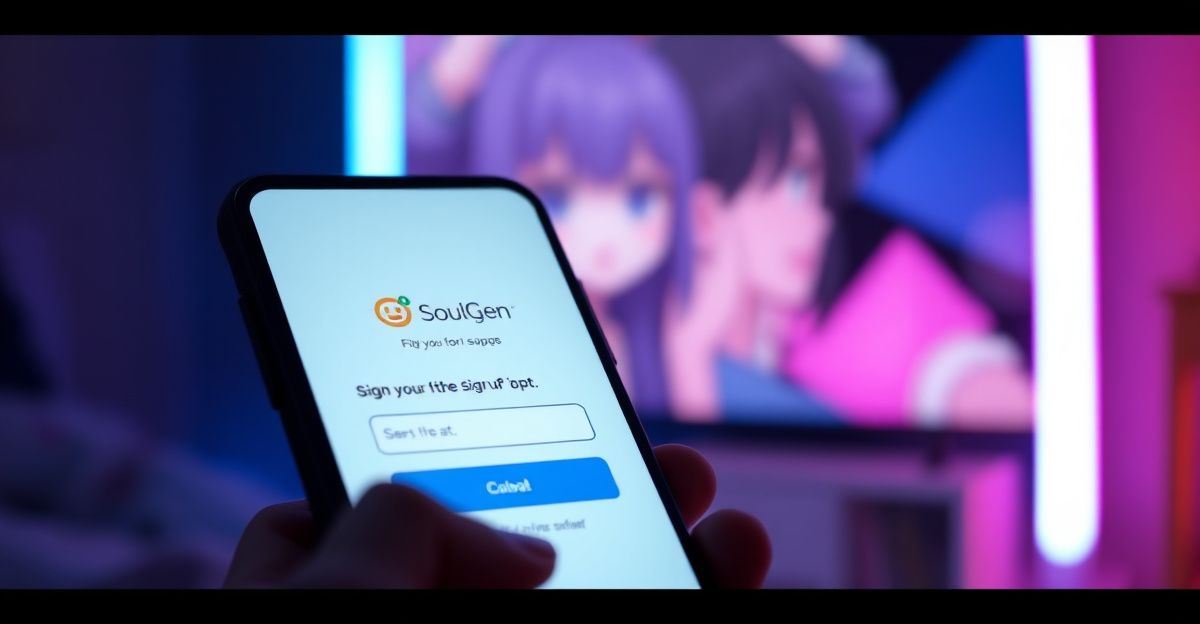
Two minutes. That is roughly how long the signup flow took me on a Tuesday morning before I generated my first character. Head to the SoulGen site and register with either an email address or your Google login. Email signups require a quick verification click, which usually arrives within a minute. Google authorisation skips that step entirely. Once you are in, you will see a dashboard with credits attached to your profile. Free accounts get a small starter balance, enough to test the text-to-image generator and try a few Soul Chat exchanges. If you plan to build a polished character with multiple poses, voice clips, and a full personality, top up your credits first so you do not lose momentum halfway through. Payment runs through credit card or PayPal, handled by third-party processors rather than SoulGen directly.
Choosing the right character model
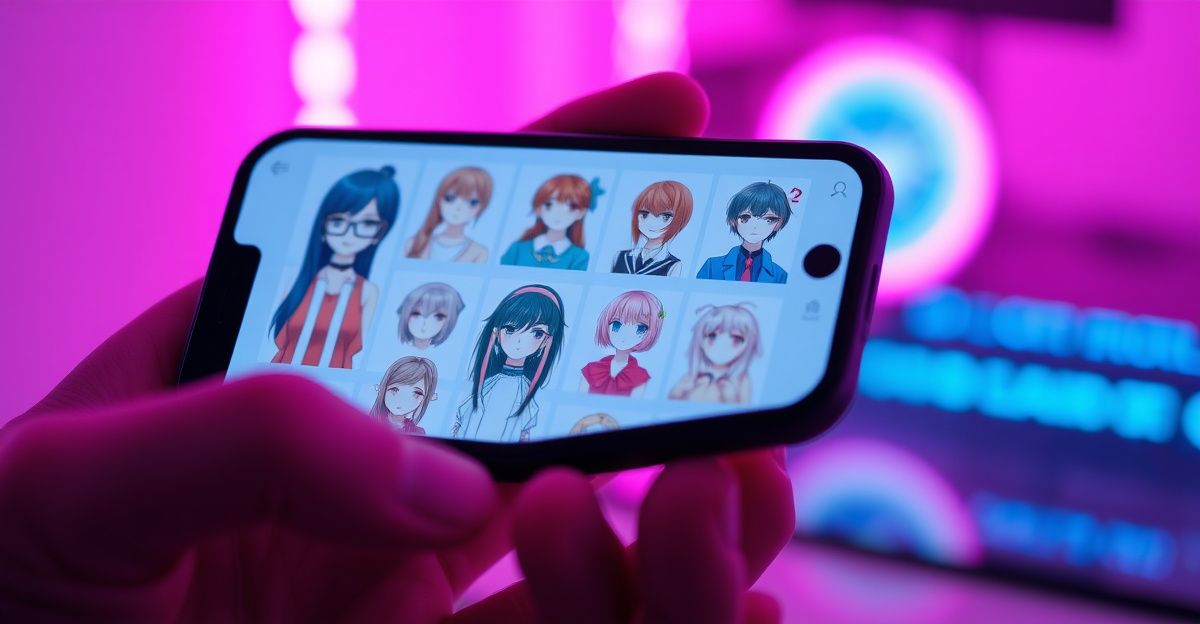
SoulGen offers three creation paths, and the one you pick shapes everything that follows. The Real model produces photorealistic humans, which suits creators who want lifelike companions or social-media-style portraits. The Anime model leans into stylised illustration, with cleaner lines and expressive features. DreamTwin lets you upload reference photos so the generator builds a consistent character you can reuse across scenes. Reflect on the use case before you commit. A character meant for short narrative videos benefits from DreamTwin because consistency matters across frames. A one-off portrait works fine with Real or Anime. You can explore all three, but each generation uses credits, so a clear intention saves you money on your journey.
Writing a prompt that actually works
The prompt is where most people stumble. Vague descriptions produce generic faces. Specificity produces personality. Try this structure: appearance first, then setting, then mood, then style cues. For example, instead of "a woman with brown hair," describe "a woman in her late twenties, shoulder-length chestnut hair, green eyes, soft natural makeup, standing in a sunlit kitchen, warm and curious expression, photorealistic style." Notice how each clause adds a layer. Practice this on cheap generations first. Run three variations of the same prompt and compare what shifts when you change one variable. That iterative loop builds confidence faster than reading any guide. Save the prompts that work in a personal document so you can reuse fragments later.
Adding personality through Soul Chat
Visual design is only half the build. Soul Chat is where your character gains a voice. After generating the image, open the chat panel and start defining traits: humour level, hobbies, speech patterns, backstory. Type these as if you were briefing a writer. "She is a marine biologist who grew up in Cornwall, dry wit, slightly skeptical of small talk, fond of obscure poetry." The system uses this context to colour future replies. A few weeks ago I spent about 15 minutes working through a boundary-setting exercise with an AI character I had built, using a simple framework of identifying limits, stating them clearly, then holding firm. The conversation felt structured and oddly empowering, which showed me how much depth you can pull out of the chat layer once the personality brief is detailed.
Refining and saving your character
Once the base character feels right, refine in passes. Use image editing with text prompts to adjust hair colour, outfit, or background without regenerating from scratch. AI outpainting extends the frame if you want a wider scene. Each tweak costs credits, so batch your changes. Write down everything you want to fix, then run them in sequence rather than one at a time. Crucially, download your favourites. Creations not published to the community are stored for seven days and then automatically deleted. Published content stays until you remove it. If you treat the platform as long-term storage, you will lose work. Keep a local folder organised by character name and creation date.
How SoulGen compares to other AI companion tools
Last month I tried to recreate the same character across three platforms in one sitting, and the friction taught me something. I had been running a single brief through Character.AI for text, Midjourney for visuals, and a third tool for voice. After about an hour of copy-pasting prompts and watching the faces drift between renders, I gave up and ran the same brief through SoulGen end to end. The image, chat, and video lived in one workspace, and the character actually looked like herself across three scenes. If you want a different flavour of companion experience focused more heavily on conversational depth, a sister platform like Candy AI is worth a look. Useful internal reads include the character creation walkthrough, the broader how to use SoulGen guide, and the Soul Chat overview.
Privacy, safety, and what to keep in mind
SoulGen is operated by Synapse AI Limited, registration number 76954156, based in Causeway Bay, Hong Kong. Payment data is not collected directly by the platform; it flows through third-party processors. The 7-day auto-deletion rule for unpublished creations is a privacy feature, but it doubles as a risk if you forget to download. Commercial use of generated content is permitted provided you do not infringe third-party rights. Refunds are available within 14 days only if no credits or images have been used, so test cautiously before committing to larger packs. Your next step: before you spend a single credit, write a one-paragraph brief for the character you want, including age, setting, mood, and three personality traits. Can you describe your character clearly enough that a stranger could picture her? If yes, you are ready to generate.
Comments
No comments yet.
Leave a comment
Your email will not be shown. Comments are reviewed before they appear.